Wild Gourd Farm

Organic Gardening in St. Louis City

Monthly Archives: September 2014

Growing Black Beans

IMG_7220

We’ve been growing dried beans for several years now. They store well and provide us with an easy source of protein. I like growing dried beans because of their dual uses; with the right varieties, you end up with at least two distinct harvests- an early harvest of green beans and a later harvest of dried beans when the seeds are mature. In the past we’ve grown Bolita beans (a type of pinto bean from Baker Creek), this Trail of Tears black bean, a type of cowpea, and even garbanzo beans (though they were less successful in our climate).

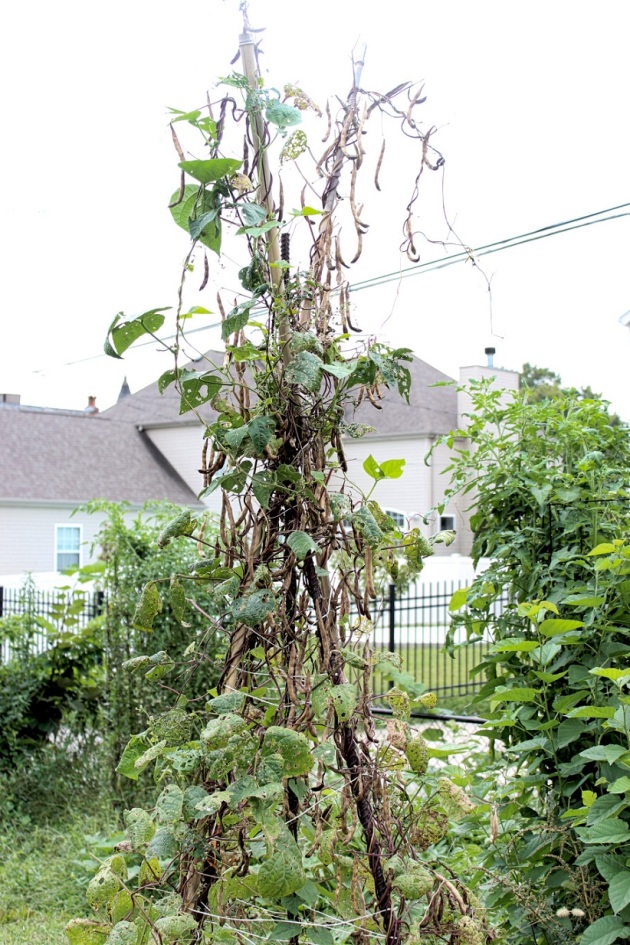
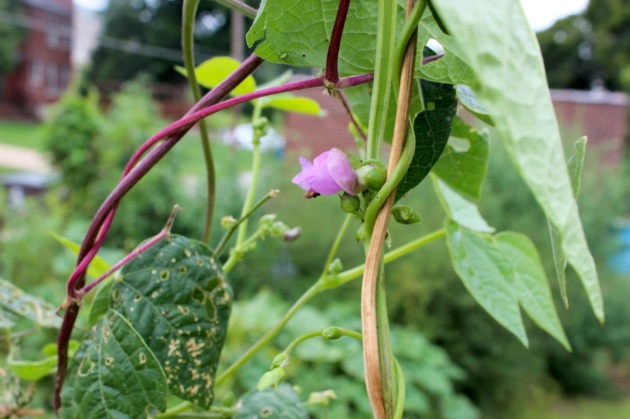
This year we only planted one teepee trellis of Trail of Tears black beans we had saved from last year. It’s a pole bean variety, so it likes to climb. We constructed a simple teepee out of dried bamboo and twine and planted about 20 black beans around the base. As you can see in the photo to the left, taken in late July, the vines completely overtook the trellis.

All green beans can be grown out to produce dried beans, and all dried bean varieties can also be eaten as green beans. The trick is finding the right combination- some are great only as immature green bean pods and some are only good as dried beans, with the pods too stringy or woody to enjoy early in the season. We like this variety of black bean because it produces early, immature pods that are tender enough to be eaten as green beans as well as a hefty harvest of dried black beans. This year we grew Kentucky Wonder and Dragon Tongue beans as green beans and allowed most of these black beans to dry.

IMG_7192

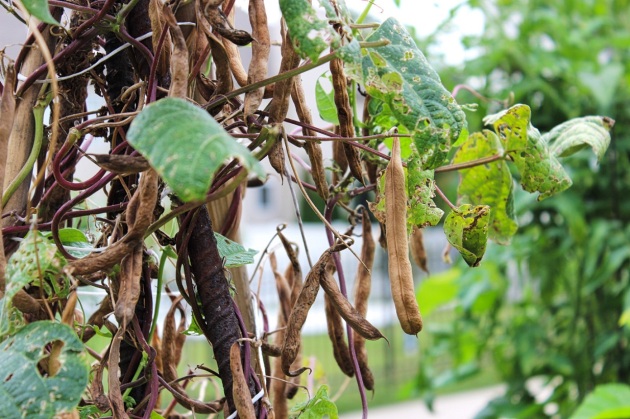
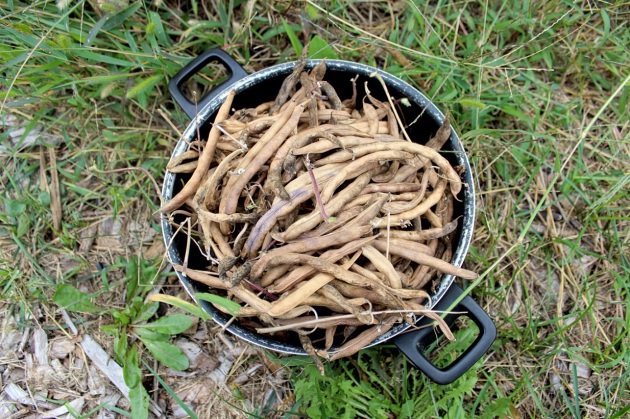
If you’ve ever grown green beans, you know there’s a short window for harvesting before the beans in the pods get too big, and consequently too tough to eat. To save dried bean seeds (this includes saving seeds for green bean varieties), you want to allow the beans to fully mature and dry on the vine. For us, this took until late August.

IMG_7193

IMG_7199


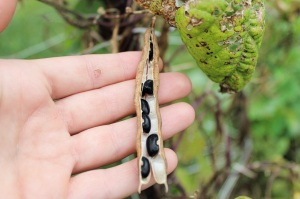
Beans are ready to harvest when the pods are completely dry- when they crack instead of bending when you try to open them. You can test a few and take a look at the beans, if they feel hard and look like fully-formed beans you’re ready to go. If they feel soft at all, let them mature a little longer.

IMG_7203

If you time it out right, you can get another flush of beans before it gets too cold. Some of our black bean vines are just starting to put out new flowers, so we’ll probably get a handful of green beans out of it. There probably won’t be time to let them grow and dry on the vine before frost kills it off.

IMG_7214

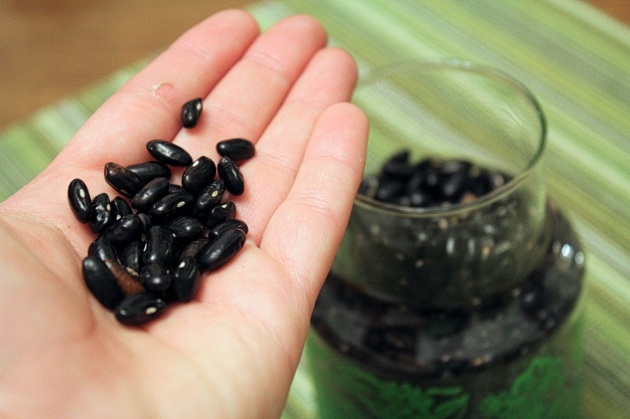
I harvested our black beans last week, and Eric and I slowly shelled them day by day. It can be a tedious task, opening each pod individually, though if they’re dry enough you can shake them in a paper bag to dislodge a lot of the beans. Even with careful hand-shelling, you still end up with some debris, or chaff, which we easily winnowed away by pouring the beans slowly from one container into a large sifter in a slight breeze. The beans poured down while the lighter chaff floated off in the wind. The sifter allowed us to further separate out the beans from the smaller particles.

IMG_7219

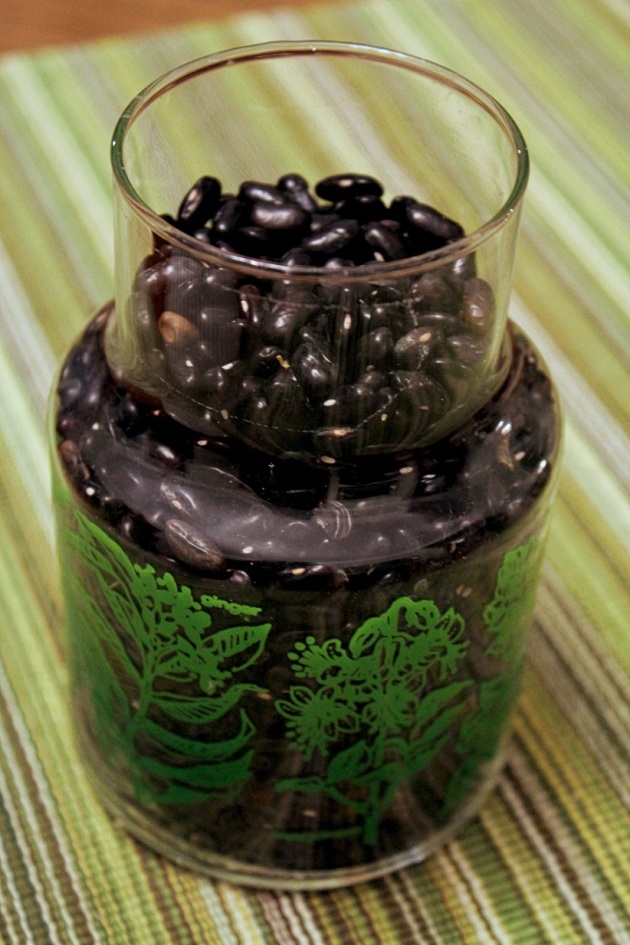
From one teepee trellis we got about 3 cups of black beans. That won’t last us through the winter, but it’s a good start. Definitely planning on growing a lot more next year!

Saving Tomato Seeds

It makes sense to save seeds. We love looking at seed catalogs each year and ordering new varieties or things we’ve never tried before, but it’s even more satisfying to look at our own seed collection. Saving our own seeds each year is economical, plus it gives us the power to select for traits of our choosing. By saving seeds from the best tasting tomatoes, or the ones that ripen first, or those from plants displaying the best disease resistance, we’re breeding from generation to generation the best plants for our purposes and climate. This kind of control has been systematically stripped from lots of farmers through the sale of hybrids and genetically modified crops, from which seeds cannot be physically or legally saved.

tomatoseeds8.jpg

Anyway, saving tomato seeds is pretty easy, if you know what you’re doing. The hardest part of seed saving is ensuring a “true to type” second generation- meaning the resulting plants will be genetically similar to the parent plant(s). The good thing is tomatoes are largely self-pollinating so it’s unlikely you’ll get unwanted hybridization or cross pollination, even if multiple varieties are planted in close proximity. So saving seeds from any non-hybrid or non-GM tomato will most likely result in a “true” plant. The other great thing about saving seeds from tomatoes is that you still get to eat the fruit! Lots of times the crop itself must be sacrificed for the seeds (like allowing greens to bolt), but not tomatoes!

To save tomato seeds, you can simply remove the seeds, allow them to try, and package them up for next year. However, it is highly recommended that you ferment the seeds first. You know that gelatinous coating around tomato seeds? It inhibits seed germination inside the tomato, which normally provides a rather alluring dark, moist environment for seeds to start growing.  Fermenting the seeds removes that coating, reduces seed-borne diseases in the next generation, and helps you separate the good seeds from the bad.

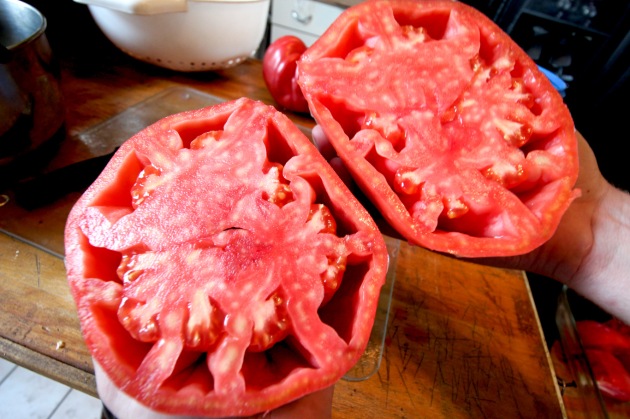
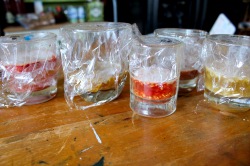
Fermenting the seeds is easier than it sounds! Simply squeeze the seeds and goo out into a small cup or dish (I’ve even used shot glasses). Don’t worry about getting some tomato flesh in there, you’ll get rid of it later. If there’s not much liquid or gel you can add a little water, but not too much!

tomatoseeds2  
 
Loosely cover each container with plastic wrap. Some people recommend keeping them open or poking holes in the covering, but that can be a recipe for fruit flies. As long as there’s a little breathing room, you’re good.
tomatoseeds4  
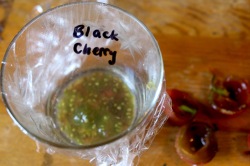
 Don’t forget to label! I use a permanent marker to write directly on the plastic wrap so there’s no confusion. Once labeled, put in a draft-free spot out of direct sunlight for a few days.
tomatoseeds9.jpg  


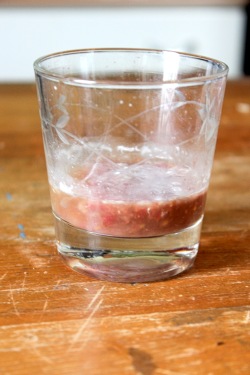
Depending on conditions inside your house, you should see a layer of mold begin to form after 2-3 days. You probably don’t usually rejoice at the sight of mold, but this is a good thing! It means that the protective gel is breaking down. In a way, the fermentation process is mimicking the natural action of a tomato rotting on the ground. In nature, the seeds don’t become “active” until after the fruit has rotted.
tomatoseeds1 After the mold forms, you get to start a process of decanting to remove the mold and unviable seeds. Fill your container up with water. The good seeds will sink to the bottom, and any bad seeds will float. Allow to sit for a minute, then slowly pour the water into your sink. You’ll notice you’re pouring off any tomato pulp and bad seeds with the water. Refill with water and decant until you have clean seeds.
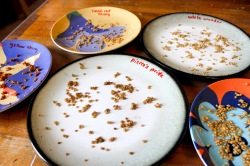
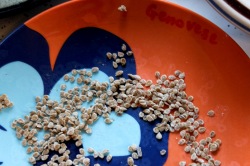
tomatoseeds3 The last step is drying. Some people prefer to use screens or paper plates to ensure even drying, but I like to use ceramic dishes. If you move the seeds around occasionally you shouldn’t have a problem with them sticking and breaking, plus the plates allow you to keep varieties separate. I like to label the plates with non-toxic dry erase marker, which cleans off easily. Keep them out of direct sunlight and monitor for moisture daily.
tomatoseeds5  
 You’ll know when your tomato seeds are sufficiently dry. They’ll get a slightly fuzzy outer texture. They should break instead of bending, if you feel like sacrificing one of your seeds. It’s a good test, especially if you’ll be storing them long term (mold was good in fermentation, but not in storage) or in the freezer.


tomatoseeds6

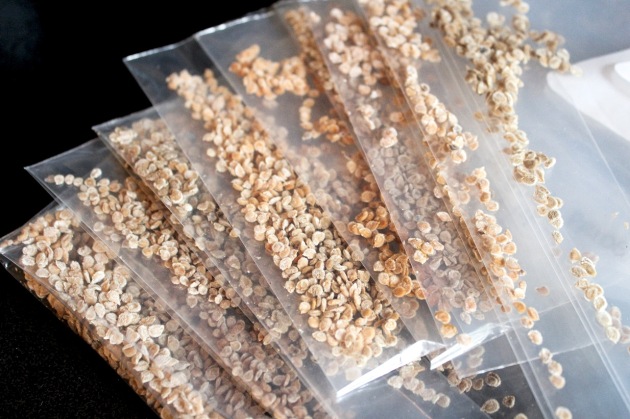
We store our seeds inside biodegradable plastic bags in a dark cabinet in our basement. Many people use paper envelopes to ensure for proper breathing and to prevent moisture buildup. No matter how you choose to store your seeds, it’s always a good idea to label them with the variety, the year, and location of harvest.

Last year I started a free community seed library at Local Harvest Grocery, which you can read about here. Anyone can “borrow” seeds with the pledge to save and return some for the next year. As more people participate, we’ll grow a diverse collection of seeds that thrive in our area. If you live around here, feel free to stop by for some seeds, literature on seed saving, or just a friendly chat 🙂 As you can tell, I love nerding out about seeds!